Form
Overview
JoEve Builder form element let you create beautiful contact form that can be integrated with some 3rd party Marketing tools.
Here is some tips on how to create a functional contact form with JoEve Builder.
You can create a form from pre-made block in JoEve Builder or build a form from scratch.
Option 1.

Create a form from pre-made block.

Option 2:
Build a contact form from form element
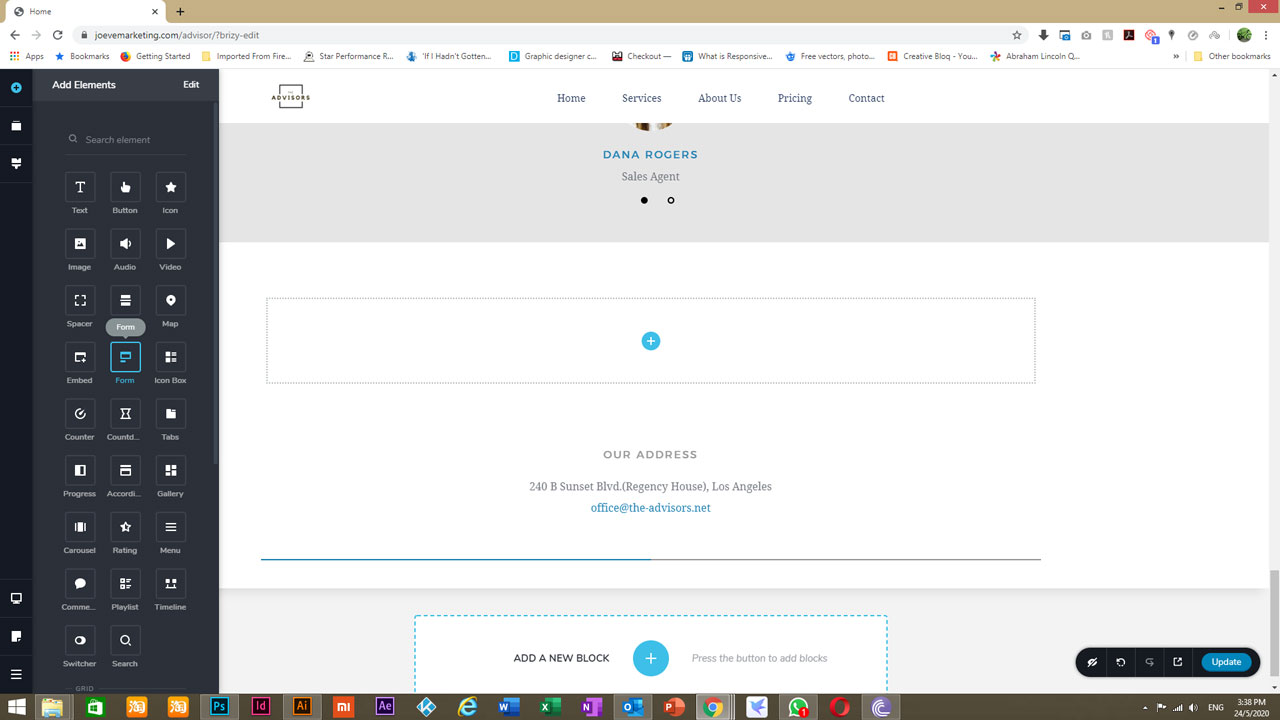
Step 1.
Drag and drop the form element to the empty new block on your webpage.

Step 2
Click on the form editing panel to set the field type of your form
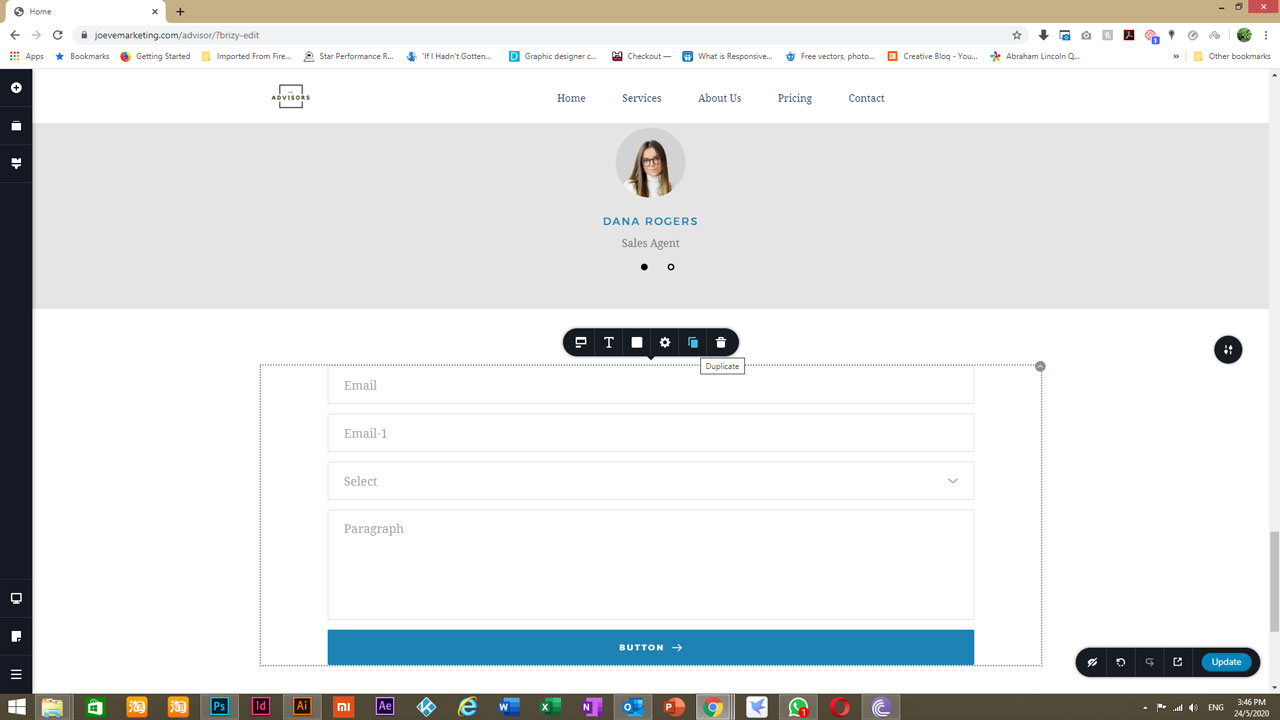
Step 3.
Duplicate the field to add another field and change the 1st Email to Name field (just click on the Email word and type in “Name”, change the type to Text.

Step 4.
For the Select field, I’ll change to “Select Interest” and the options field change to whatever related keywords to our services.
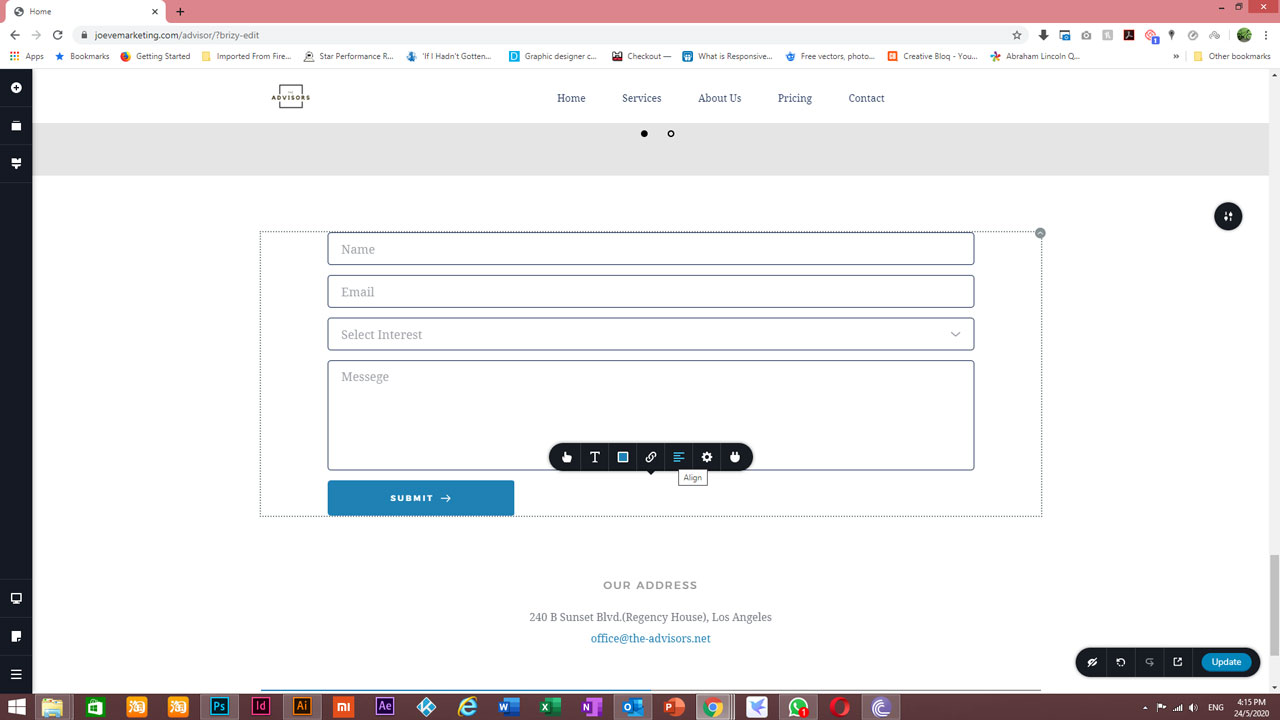
Step 5.
The Paragraph field we have changed to “Message” then we change the button to “SUBMIT”


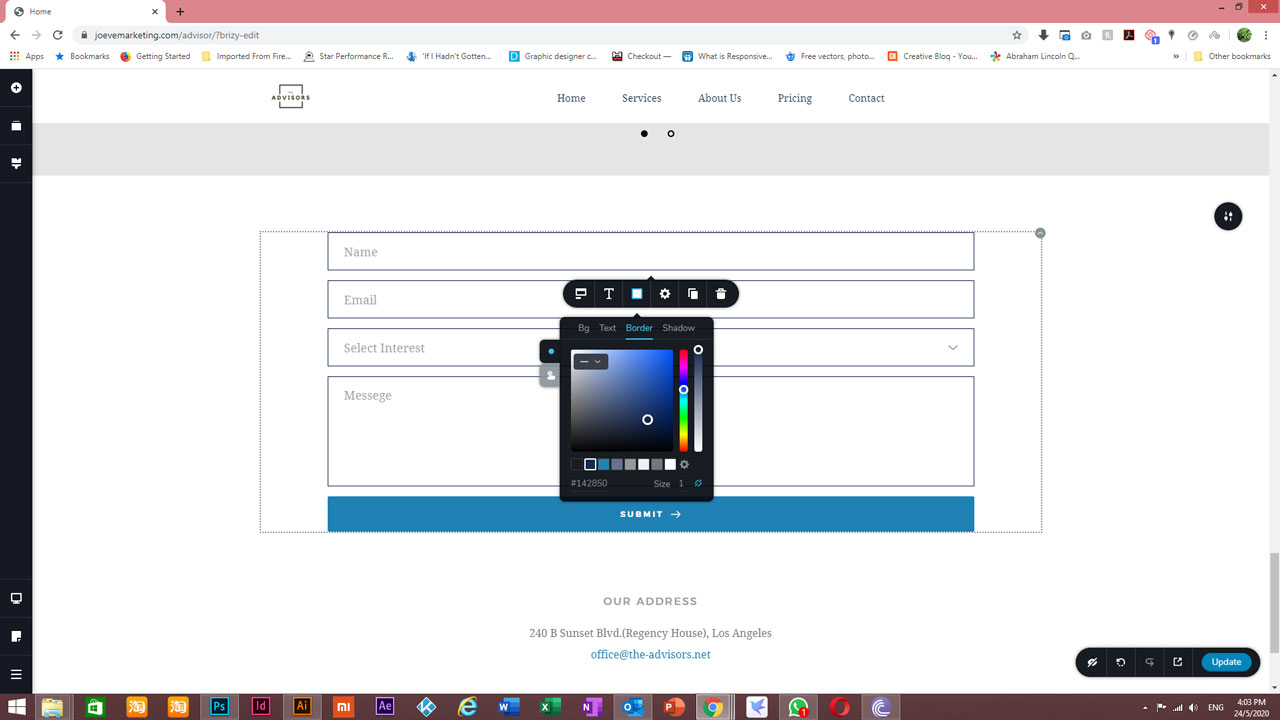
Step 6.
Adjust the border colour of the field boxes
Step 7.
We can also change the border shape by adding some curve to the corners.

Step 8.
Change the button size and alignment to left.

Step 9.
Make the form width smaller in settings (adjust the margin & padding on both left and right)

Step 10.
Add a text heading to the form.

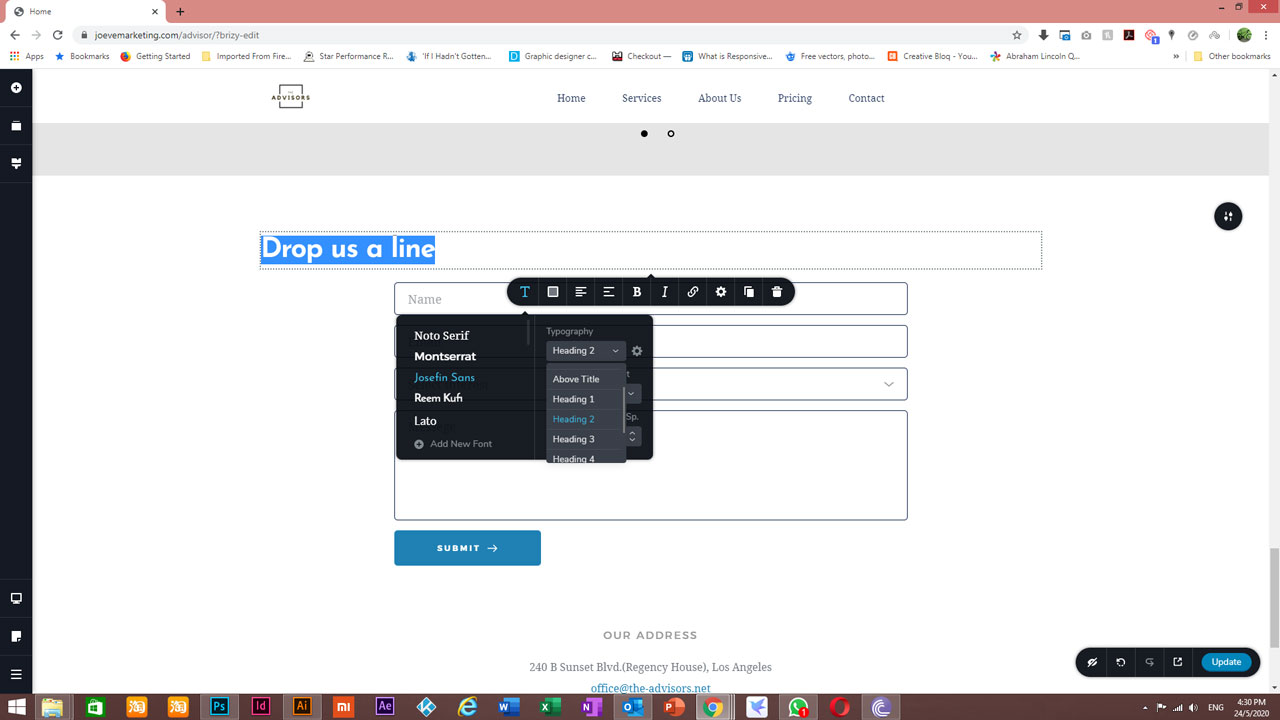
Step 11.
Change the text and typography settings
Step 12.
Adjust the margin and padding to align to the form

Step 13.
Add sending email or marketing apps to your button.

Email Services
Select the email services you wish to receive your form data.
The data will be pushed to your selected Email account